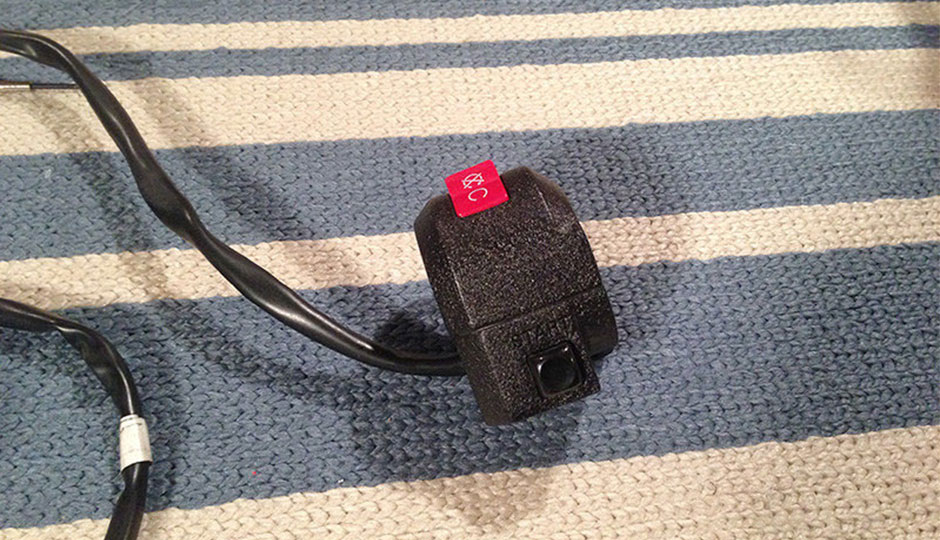
If you have decided to upgrade your front forks and brake to a disk brake system the stock controls will not allow for a master cylinder brake lever to be mounted next to it, as itself has a lever perch built into it. Shaving the stock controls on a Ruckus will accommodate a disk brake lever. Now if Shaving the stock controls sounds scary, you might be tempted to just go buy new controls all together. Going with a whole new control set has more challenges in its self. As you would then have to do some custom wiring as all controls wire up different. In addition the stock controls are really great (in my opinion) so lets get to the grinding.
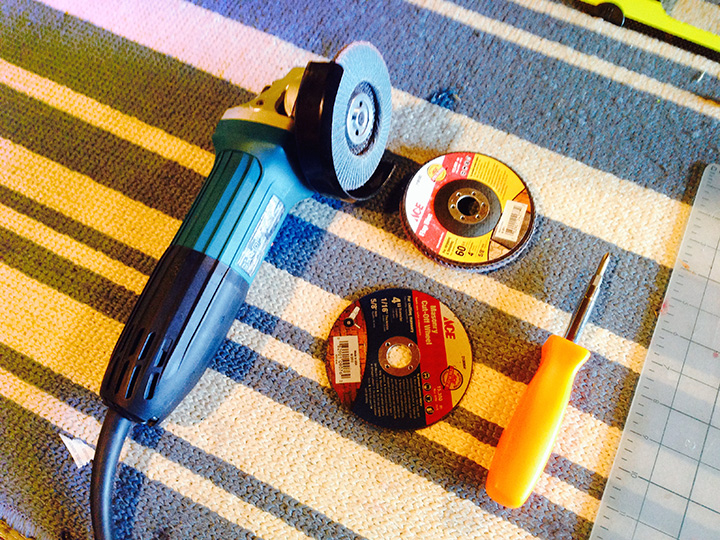
Here is the necessary tools
- A dremmel or Grinder (preferred)
- If using a grinder a 60 grit flap disk
- Phillips screw driver
- Paint, I used VHT Wrinkle Plus
- About 30 mins (shave process)
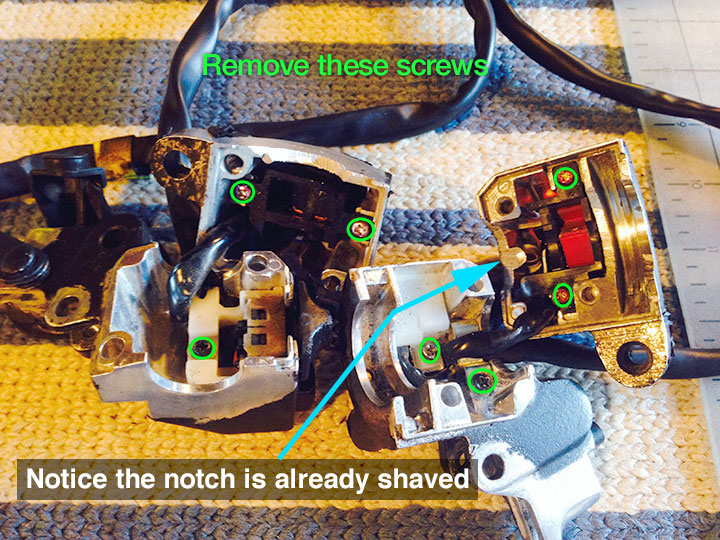
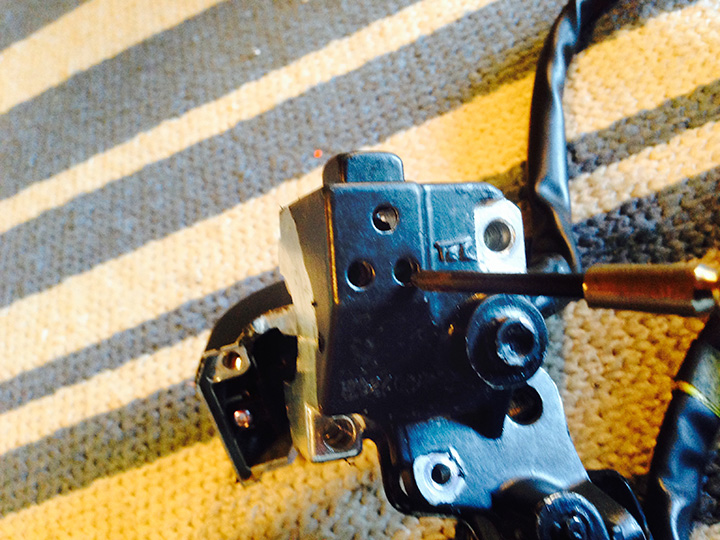
First we need to take apart the controls, I’ll leave removing them from the bike up to you, pretty straight forward. You will also need to trim off the notch on the inside of the top potion of the control to use on after market bars, you can see it was already shaved in right control.
so To get the start button removed there is a spring holding it in, use a little flat head screw drive to push it out of the way
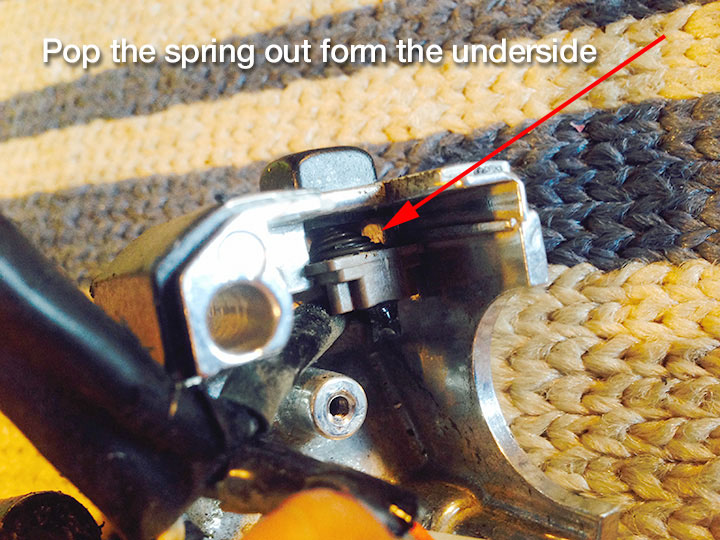
You can push from the bottom of the control also to help release the spring
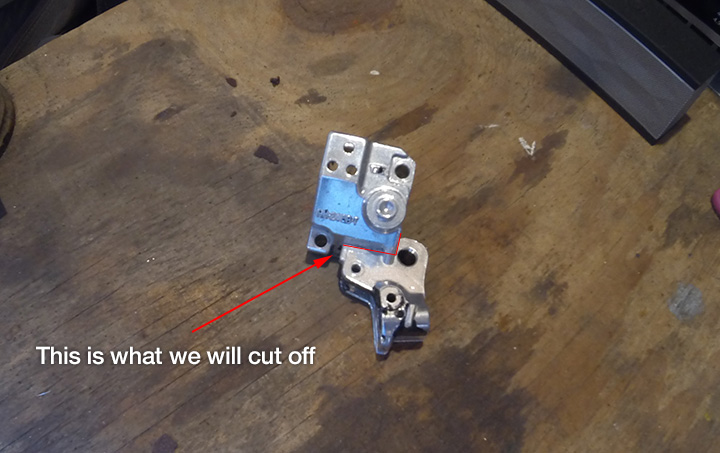
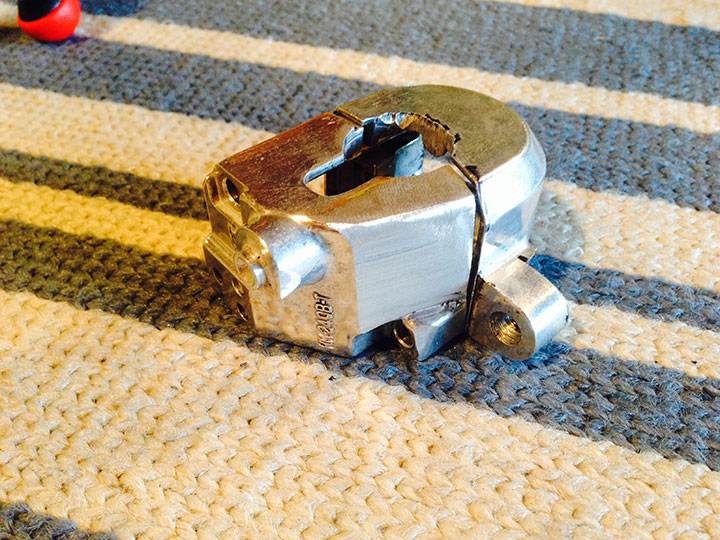
So herewe have the base of the left control, and where we will cut it. For this write up I will be doing the right control, as this is most common because that is your front brake lever position.
you want to start on either side cutting in to get rid on the girth of the perch then move to a sanding disk to fine tune. Just really take your time, look ad different angle to make sure your not cutting an area that you shouldn’t be.
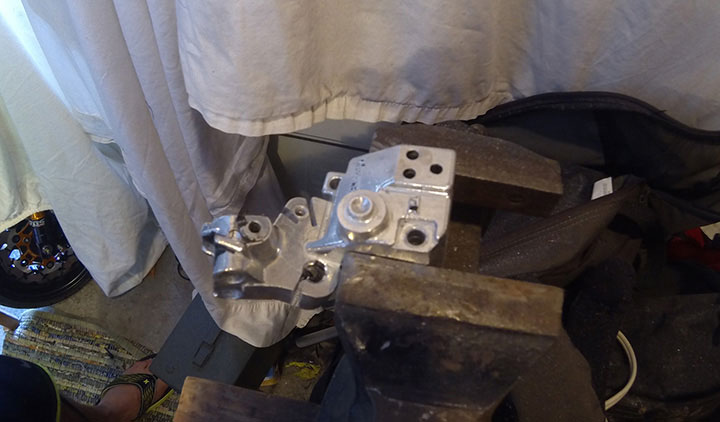
Slowly remove chunks one at a time until you can cut through the perch.

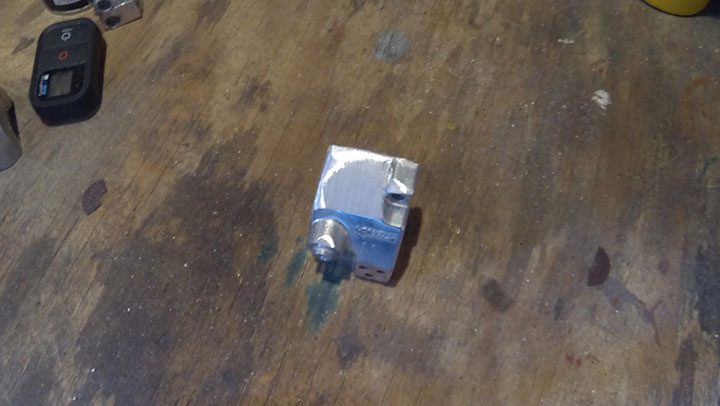
After a bit of sanding we come out with a nice shaved control. Now, I didn’t go into sanding with super fine grit, but you could. I knew I was going to use a thick paint and the sand marks would not show.
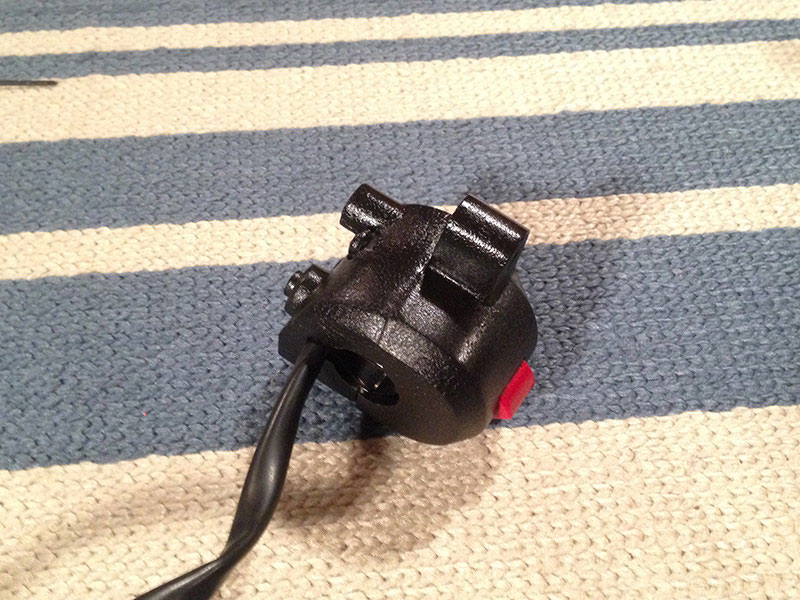
And after a few coats of VHT Wrinkle and a little heat gun action we have a super clean shaved control.
Write a Reply or Comment