One of the easiest ways to set your Ruckus apart from the rest is Installing a custom seat cover on your ride. I know it seems intimidating having to temporarily become an upholster, but honestly it’s not that bad.
Things you need when installing a custom seat cover
- Time: 30 Minutes
- Small flat head screwdriver
- Needle Nose Pliers
- Electric staple gun I used this one Ace Staple gun
- Seat Cover: HT-MOTO is a great place to get them, and affordable @ $55.00
I have never had to do any sort of upholstery work, and I found this to be a very easy job. All the custom seat covers out there are already built to form fit the foam on the seat. So really its just a matter of laying it on top, getting it straight, and start blasting some staples in it. Good thing with this is if you make a mistake, its all good, just remove some staples and add some more once you re-align the cover
My tools:

My custom seat cover thanks to “Ruckr” on total ruckus, who makes amazing covers in an assortment of colors and fabrics:

First Grab your screw driver and go around the seat prying the staples up, you dont have to get them all the way out quite yet, as thats what the pliers are for:

After you have pulled off the staples with the pliers you can see the cover will just fall off:

Next Eyeball up the new cover and start stapling it on. Best thing to do is put a staple in the front and the back but not all the way in, as to ‘Tack’ it on, then stretch the center and start from there, going toward the front and back of the seat, along the left & right sides. As you can see im not perfect, but it doesn’t matter no one is going to see the staples:

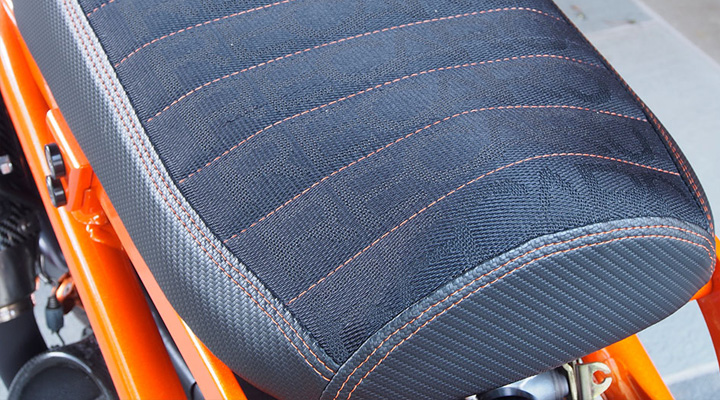
Thats really all there is to it, and now you have your super unique seat that will set your bike apart from the rest:

Write a Reply or Comment